As the school bell tolls, it is often the beginning of the fall season. This means the winter season is coming and my tropical sanctuary in my backyard is done for another year. It is disappointing as the plants we subject to indoor living in our homes are not happy – even if they are catered to with grow lights and elevated humidity. Alas, it is one more example of falling short when we are trying to measure up to Mother Nature.
So, if you are like me, during the summer months my home is airy and empty but during the winter months when we are all inside, my home is filled with an amazing array of plants. Kind of a crazy backwards situation but I guess it is the reality of living in Canada on the prairies. So how do I safely bring in my plants and not the vast array of little creatures that also are living outside? Well, it takes some work and a variety of chores.
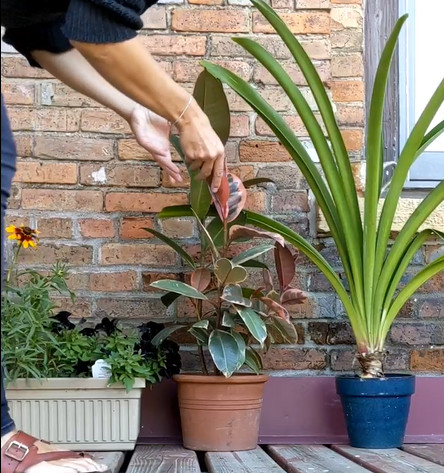
As the nighttime temperatures begin to drop, my watering is done with a hose and spray nozzle is aimed at washing off the leaves and stems of the plants each time I water. The spider webs quickly come back but the dust and other materials that are adhered to the leaves seem to disappear. Generally, this task occurs a few times and with frequency as other production plants, like tomatoes and peppers, are generally being watered daily.
Before the temperature drops much below 10 C these tasks need to occur to alleviate the chance of cold temperature damage to tropical and subtropical plants. The plants are removed from their shady summer homes and thoroughly sprayed with air via my favourite garden tool – a commercial gas-powered blower. Sometimes a shop vac is also used if there has been a lot of debris accumulating on the surface of the media.
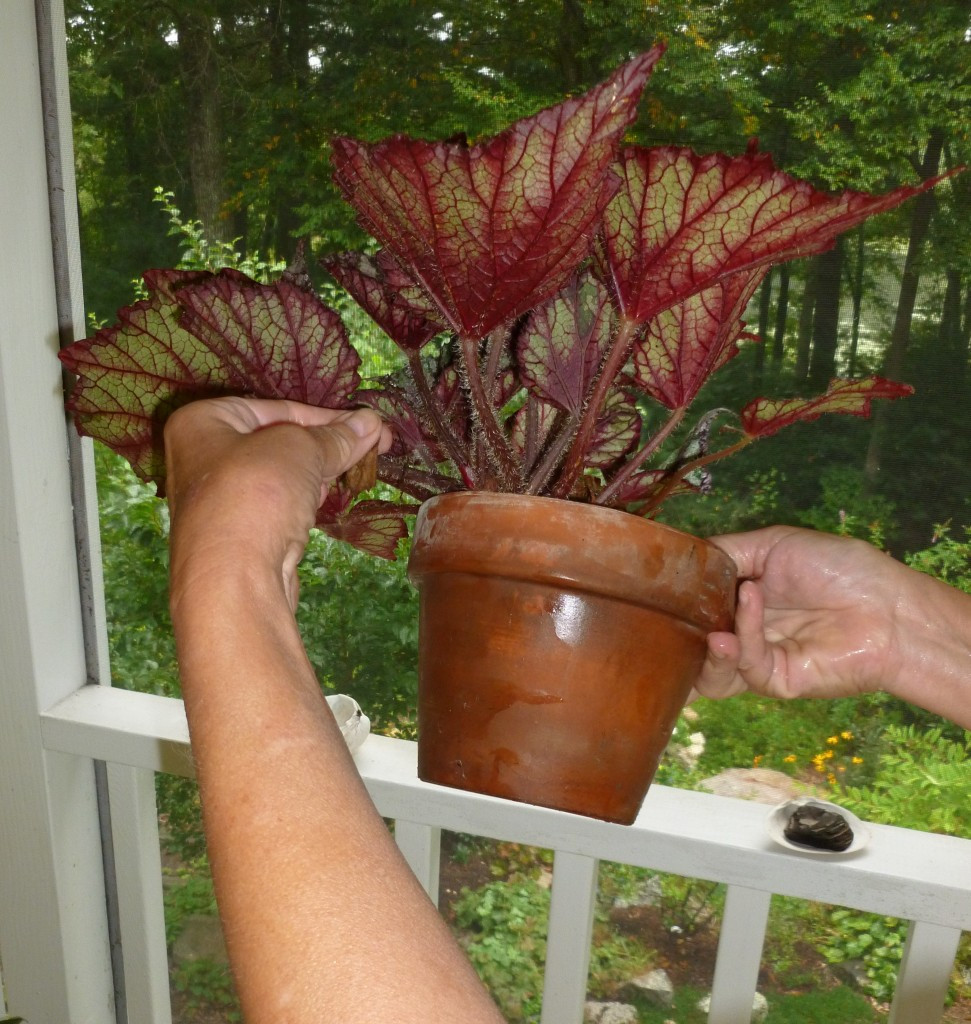
For plants I suspect have enticed soil-borne critters to find a nice winter home, the pots are submerged in tepid water for 15 or 20 minutes. Due to the lack of oxygen, any freeloaders will quickly exit through the drainage holes they entered through and float to the surface of the water where they are skimmed off and return to their less-hospitable home environments. Take care to then place plant trays beneath the plants that are clean or on a solid surface that is free from the smaller critters. Let them drain well.
Any obvious pests are removed and then every plant (except those that are pubescent or fern-like) are then sprayed liberally with Neem which is an extract from the Neem tree and liberally used in the skin/cosmetic industry. For a short time, Neem did make the Pesticide Regulatory list in Canada but is no longer a registered product. Some people love the scent of Neem while others find it quite distasteful so I let the plants dry for a few hours or a day or so but am careful that they are out of direct sunlight and in a safe environment so no new pests make it their home.
When the plants are moved inside, those needing higher light levels are placed under full spectrum grow lights and those that can tolerate lower light levels are also appropriately placed. Please note that my lemons and limes, Bird of Paradise plants, Passion Flowers and those which I want to encourage blooms will need to be given higher light as well as fertilizer appropriate to the type of production of the plant. Also of note is this is the time of year that I plug in the humidifier to ensure that the humidity level in the home stays around 70 per cent. The higher humidity in my home as winter descends makes it more comfortable and those humanoids that dwell here are most definitely happier and healthier!
Transitioning Your Plants Indoors
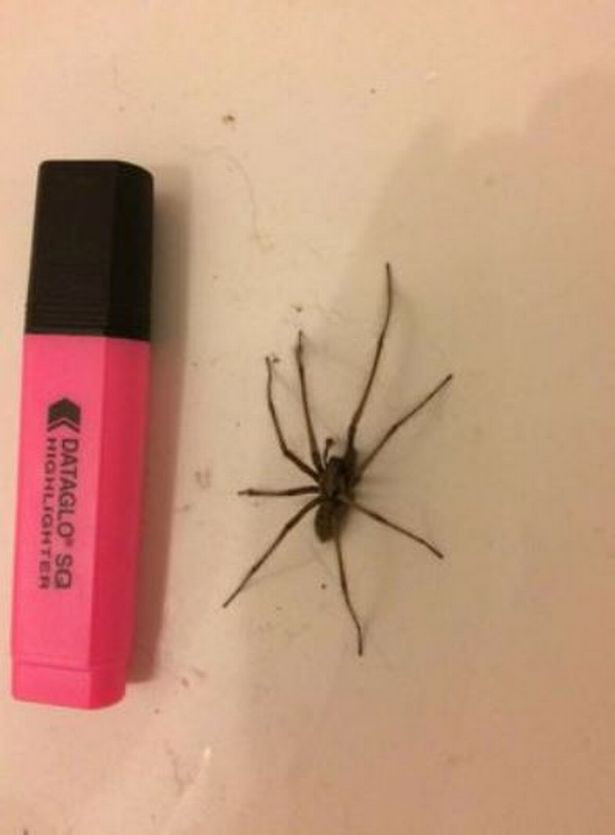
Soon it will be time to move any houseplants that spent the summer outside back inside for the winter. Before we do though, we’ll want to take some precautions to make sure they haven’t picked up any pests during their summer vacation. If we bring a plant indoors with only a couple of aphids on it for instance, it can become a big problem in a small amount of time. Once inside with plenty of heat and no natural predators to keep them under control, these insect pests will reproduce quickly and then branch out to infest your other houseplants.
Prepping Your Plants for Winter
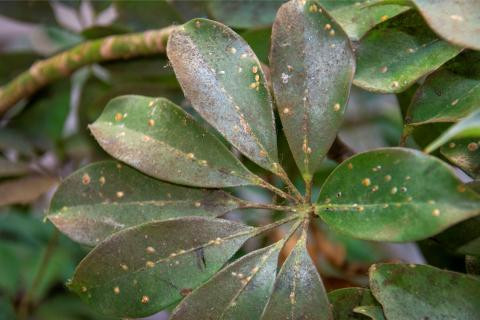
The first step is to thoroughly spray your inbound plants with an insecticide to kill any insects they might have picked up. My favorite for this job is insecticidal soap, something most organic gardeners are familiar with. It kills just about any insect commonly found on houseplants and it kills on contact. It also kills mites which often go undetected since they are so small. Left unchecked, mites will reproduce quickly but unnoticed inside. Eventually the leaves begin to fall off…this is when most folks realize they have a mite problem.
Doing this outside while the weather is still warm gives us a chance to be very thorough without making a mess inside and smelling up the house. Choose a day when the wind is calm to spray your houseplants. Spray every inch of the plants until the insecticidal soap is dripping off the leaves. Pay special attention to the undersides of the leaves since this is where mites like to hide. Spray again a week to ten days after the first spraying if you have the chance before frost.
In addition to the spraying, I like to put some systemic insecticide into the soil of inbound houseplants especially those like hibiscus that seems to attract pests. Systemic insecticides are drawn up into the plant through the roots and are pumped out through the stems and leaves until it permeates the entire plant. Any sucking insects like aphids or scale suck up the insecticide and die. Systemic insecticide lasts for several weeks so it kills any insects that hatch from eggs after the plant was brought inside. This is something a contact killer like insecticidal soap can’t do. Systemic insecticide takes a couple of weeks to get absorbed by the plant so it is a good idea to use it a week or so before the plant comes inside. Naturally, you shouldn’t use systemic granules on any edible plants you plan to rescue from outdoors like herbs.
Acclimate Your Plants to Indoor Conditions
After spending the longest days of the year outside, our houseplants have become spoiled. Long, warm sunny days with breezes cause them to drink plenty of water. Some of these plants need to be watered every day or two as they enjoy their sunny summer home on the patio.
Once they move inside, their demand for water will drop off considerably. Even the sunniest windows on the south side of our homes can’t begin to equal the amount of sun they enjoyed outside. Without that sun and the breezes, they will only need a tiny fraction of the water they needed outdoors. A plant that needs water every two days outside will only need to be watered once every couple of weeks inside. This is what kills most houseplants…overwatering. Don’t try to water on a timetable. Check the soil before you water. If you even think it feels moist, don’t water, and check it again a couple of days later. We use saucers to keep excess water from ruining our rugs and wood floors. NEVER let the plants stand in water for more than a few minutes. There is no quicker way to drown a plant than to leave it standing in water.
You can expect your plants to lose some leaves as they adapt to the lower light indoors. In some cases, they may lose a lot of foliage. Be calm and don’t give them extra water. This leaf drop is normal, and added water will only make things worse.
Caring for Your Indoor Plants
Even though our houseplants live all year, they do slow way down as the days get shorter. They need to be fed during the longer days of summer, but once they come inside, you should stop feeding them until March or so when they start to show signs of new growth. Then feed them, but mix your food at 1/4 strength. Once June rolls around and it’s time for them to go outside again, you can start feeding them at full strength for the summer. We love our houseplants for the greenery they provide during the grey days of winter, so let’s help them make the transition as gently as possible.
Overwintering Your Herb Garden
With the warmer part of the year coming to a close, it's only normal for us to make an intentional shift towards spending more time indoors. This living change is especially typical in places that tend to experience cooler weather.
Similarly, some plants also enjoy this change in abode. And if you're a culinary gardener with a patch of thriving herb plants, then you might want to relocate them until the yearly frost comes to an end.
Preparing Your Herbs for the Transition
While overwintering your herb garden, it's important to go about it the right way. So we consulted the experts and they've lent us some helpful insight into their personal tried-and-tested methods to move herbs indoors for the winter. And here's everything you need to know to tend to your delicious array of herbals like a pro.
In conversation with kitchen gardening expert Kathi Rodgers, she tells us that the first step to overwintering your herb garden is to carefully inspect them before bringing plants indoors. "This is purely to make sure you’re not bringing in any unwelcome visitors such as insects or spider mites, which can spread to other houseplants," she says.
Kathi encourages using a magnifying glass to look for insects and other pests on top of the soil, on stems, and on top of and underneath leaves. "If possible, pull the plant’s root ball out of the pot to check for insects on the inside of the pot and in drainage holes," she says. "Spraying plants with an insecticidal soap or neem oil can also prevent unwelcome pests from coming indoors."
Planting expert Lydia Beaumont from Gardening Yard tells us that it's doubly important to make sure that you're only relocating the herbs that aren't hardy enough to stay outdoors. She also explains that some herbs adapt better to the indoor shift than others.
"Hardy herbs like rosemary, thyme, and oregano handle the transition well," she notes. "While tender herbs like basil, parsley, and cilantro are more sensitive to change, but can still thrive indoors with proper care."
Bringing Your Herbs Indoors
Once you find the herbs that aren't naturally suited to witness cold climates, we recommend using a pest preventative like this Captain Jack's 16 oz Neem Oil from Walmart to keep your home and the rest of your indoor plants safe.
After identifying the herbs you're going to bring into your home, Lydia recommends gently digging around the herbs to transport them into planters. One of the most common gardening mistakes made by beginners is to hastily dig out crops, thereby damaging the root system in the process. This is something Lydia finds best avoided, as she explains that it's important to keep as much of the root ball intact as possible.
"Pot them in containers with good drainage using a high-quality potting mix," she says. "And ensure the pot is large enough for the root system."
This Miracle-Gro Houseplant Potting Mix from Amazon is a great pick and since it's suited for houseplants, it's perfect for your soon-to-be indoor herb garden.
Acclimating Your Herbs to Indoor Living
One of the most vital steps to making the transition indoors smooth on your herbs is to get them acclimated before making the harsh swap from outside to inside. Kathi tells us that it's best to start by moving potted herbs to a shady location outside for a week or two. This way, she finds that they can comfortably adjust to the lower level of light they’ll probably receive indoors.
"Keep an eye on the weather, and protect the plants from any overnight frosts or freezes," she says. "Then move them to their permanent winter location, such as a sunny windowsill." Kathi tells gardeners not to worry if they drop a few leaves during this time of adjustment, but excessive leaf drop or yellowing leaves could mean there’s a problem and that they're not taking to the change quite as expected.
Although this intermediate step may seem unnecessary, Kathi strongly advises gardeners to adopt this method as it can only help your herbs. And after doing so, you can even keep some of them as kitchen plants for easy reach.
Caring for Your Indoor Herb Garden
According to Kathi, the amount and type of light in your home are the main consideration, when it comes to caring for your herbs. "Many of them will be happy with four to six hours of direct sunlight every day," she says. "But others like rosemary and thyme may need supplemental light such as indoor grow lights."
Kathi also advises gardeners to refrain from under or overwatering the herbs while indoors. "Many herbs are originally from the Mediterranean area, which has dry, warm conditions, and they don’t appreciate wet soil," she notes. "So let the soil dry out before watering again."
This sleek grow light is first-of-its-kind luxury LED grow light designed promote healthy and happy plants.
Harvesting Your Indoor Herbs
The final step and probably the one that feels most rewarding is cutting and harvesting your lovely little herbs. "Trim lightly to maintain the shape of herbs like oregano and thyme," says Lydia. "And I find that basil benefits from cutting above a node to promote bushier growth."
It's always a nice feeling to finally taste the rewards of your herb garden. Plus, cutting your herbs allows them to direct energy towards fresh growth and is one of the best ways to make your indoor herb garden produce more.
Troubleshooting Common Indoor Herb Problems
There are a couple of reasons that could be behind why your herbs are not doing their best indoors.
- Insufficient watering is one of the prime causes of indoor herbs. You don't want to drown them but you shouldn't be starving them either. So be sure to plant them in well-draining soil, water them regularly and you can also help by keeping them in pots with proper drainage holes.
- Inadequate sunlight is also another problem your plants could be enduring indoors. Window sills are ideal spots for your herbs but it's also important to make sure that only the plants that are sun-loving are in the way of direct sun. If any of your herbs are not sun-hardy, place them in shady spots that still receive enough light to fulfil their basic quota.
- Lack of fertilizer can cause herbs to wilt away after being pushed indoors for overwintering. Since they are not in their usual locations, they have to work harder to provide nutrients for fresh growth. So feel free to give them a little encouragement in the form of herb fertilizer.
Besides these normal plant problems, just be sure to be patient with your herb garden and tend to it on a regular basis for the best results.
Enjoy the Benefits of Your Indoor Herb Garden
After putting money, effort and patience into growing your herb garden, the last thing you need is one bad winter to ruin your crops for good. Instead of risking their wilting over the winter season, it's important to bring them indoors.
And now that you've the expert's guide to overwintering your herb garden, you can make sure that your herbs are still thriving until the frost ends. And above all, having your herbs by your kitchen is simply the silver lining of it all.


